Some sewing machines come with an ugly dust-cover, some come with none at all. Either way, this has to change. There’s nothing more infuriating than wanting to star a project with a dusty machine, so here’s how to make a beautiful cover yourself, that will fit your aesthetic and sewing room decor.
To create a pattern, you can use the cover your machine came with (if it had one), or use the template from our Template Library.
Or, if you want to draft your own, the whole process is shown in the video below.
Let’s Start Sewing!
Cut out your fabric pieces. Depending on the patchwork you want to create, you can cut your pattern apart, but remember to add back seam allowance where you cut. The pattern from our Template Library has 1cm SA included.
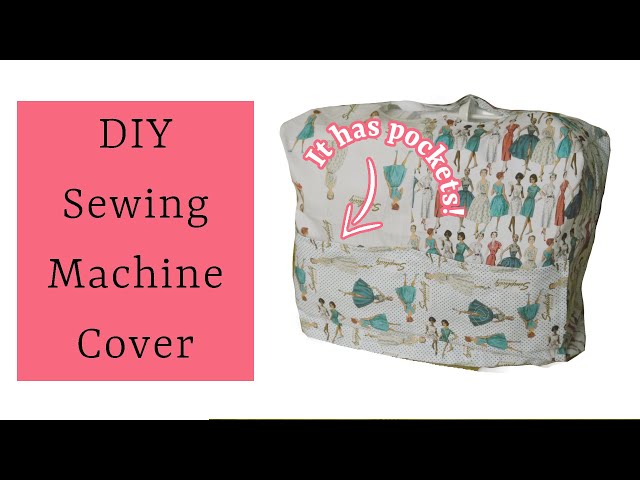
For my sewing machine cover I used the Simplicity “All Dressed Up” Fabrics, that look sooo cute on my sewing machine.
Sew your patchwork together until you get one complete front and back piece. If you want to add pockets, now is the time to sew them on.
Then sew the two pieces together at the “shoulder seams” of the cover and at the side seams. Close the “corner seam” running horizontally across the narrow side of your machine, and hem your cover along the bottom edge. Done!