My grandma used to tell me, how in her day (i.e the 1940s and 50s), blank handkerchiefs with perforated edges could be purchased, so the girls and women could crochet their own lace-edging. Amazing right? This technique was taught as part of their sewing classes in school. I do have a couple of her hankies, although I’m not sure if she made them herself, or if these were bought as is.
I don’t think hankies with pre-made holes are still available for purchase, so here is a workaround to create the handkerchiefs of your dreams using only some plain white cotton and embroidery thread!
You will need:
- White cotton fabric (or a pastel color if you prefer)
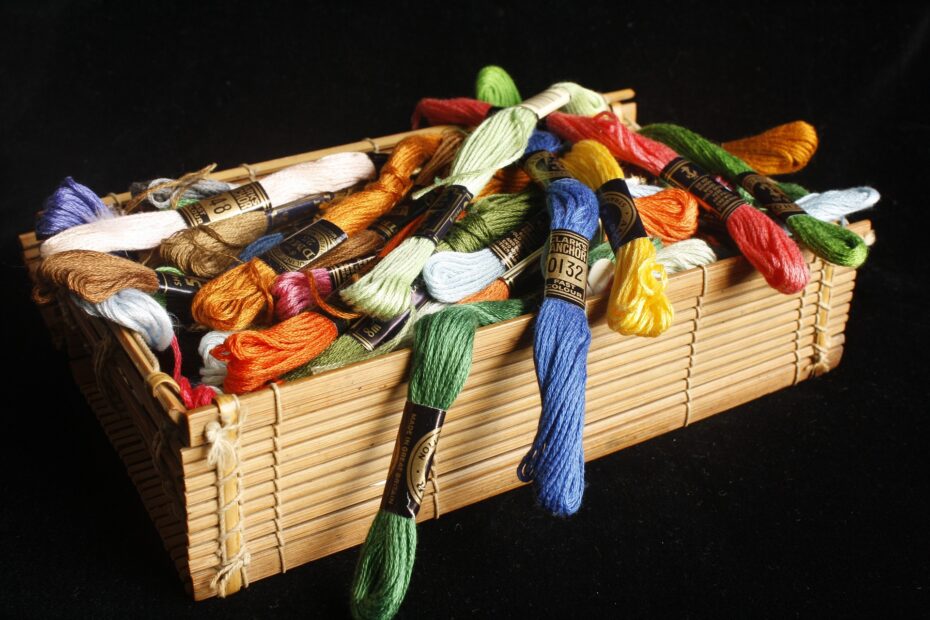
- Embroidery-cotton
- Embroidery needle
- Fine crochet hook
Depending on the thickness you’re going for, you can bi-sect the (usually 6-standed) embroidery cotton and only work with 3 threads.
First things first, hem your handkerchief using a blanket stitch. Make sure to get it as even as possible. Alternatively, you could also use a whip-stitch.
Now it’s time to crochet! Create a row of double crochets all around your hanky, using the loops of the blanket of whip-stitches on the hem. That will be the sturdy base for your lace design. Now find your favorite crochet lace edging pattern, and add that onto your base. Check out the video below, for a step-by-step demonstration!
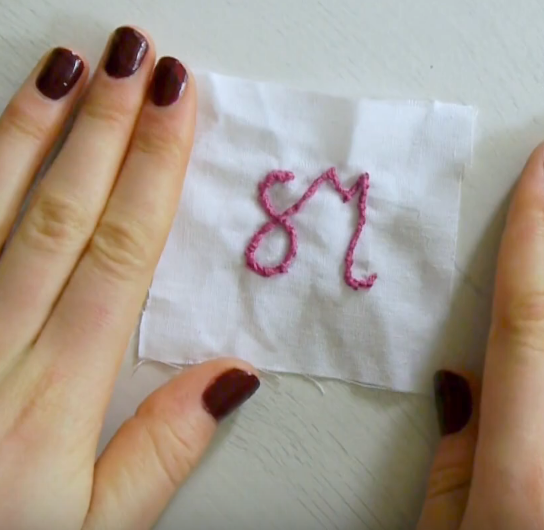
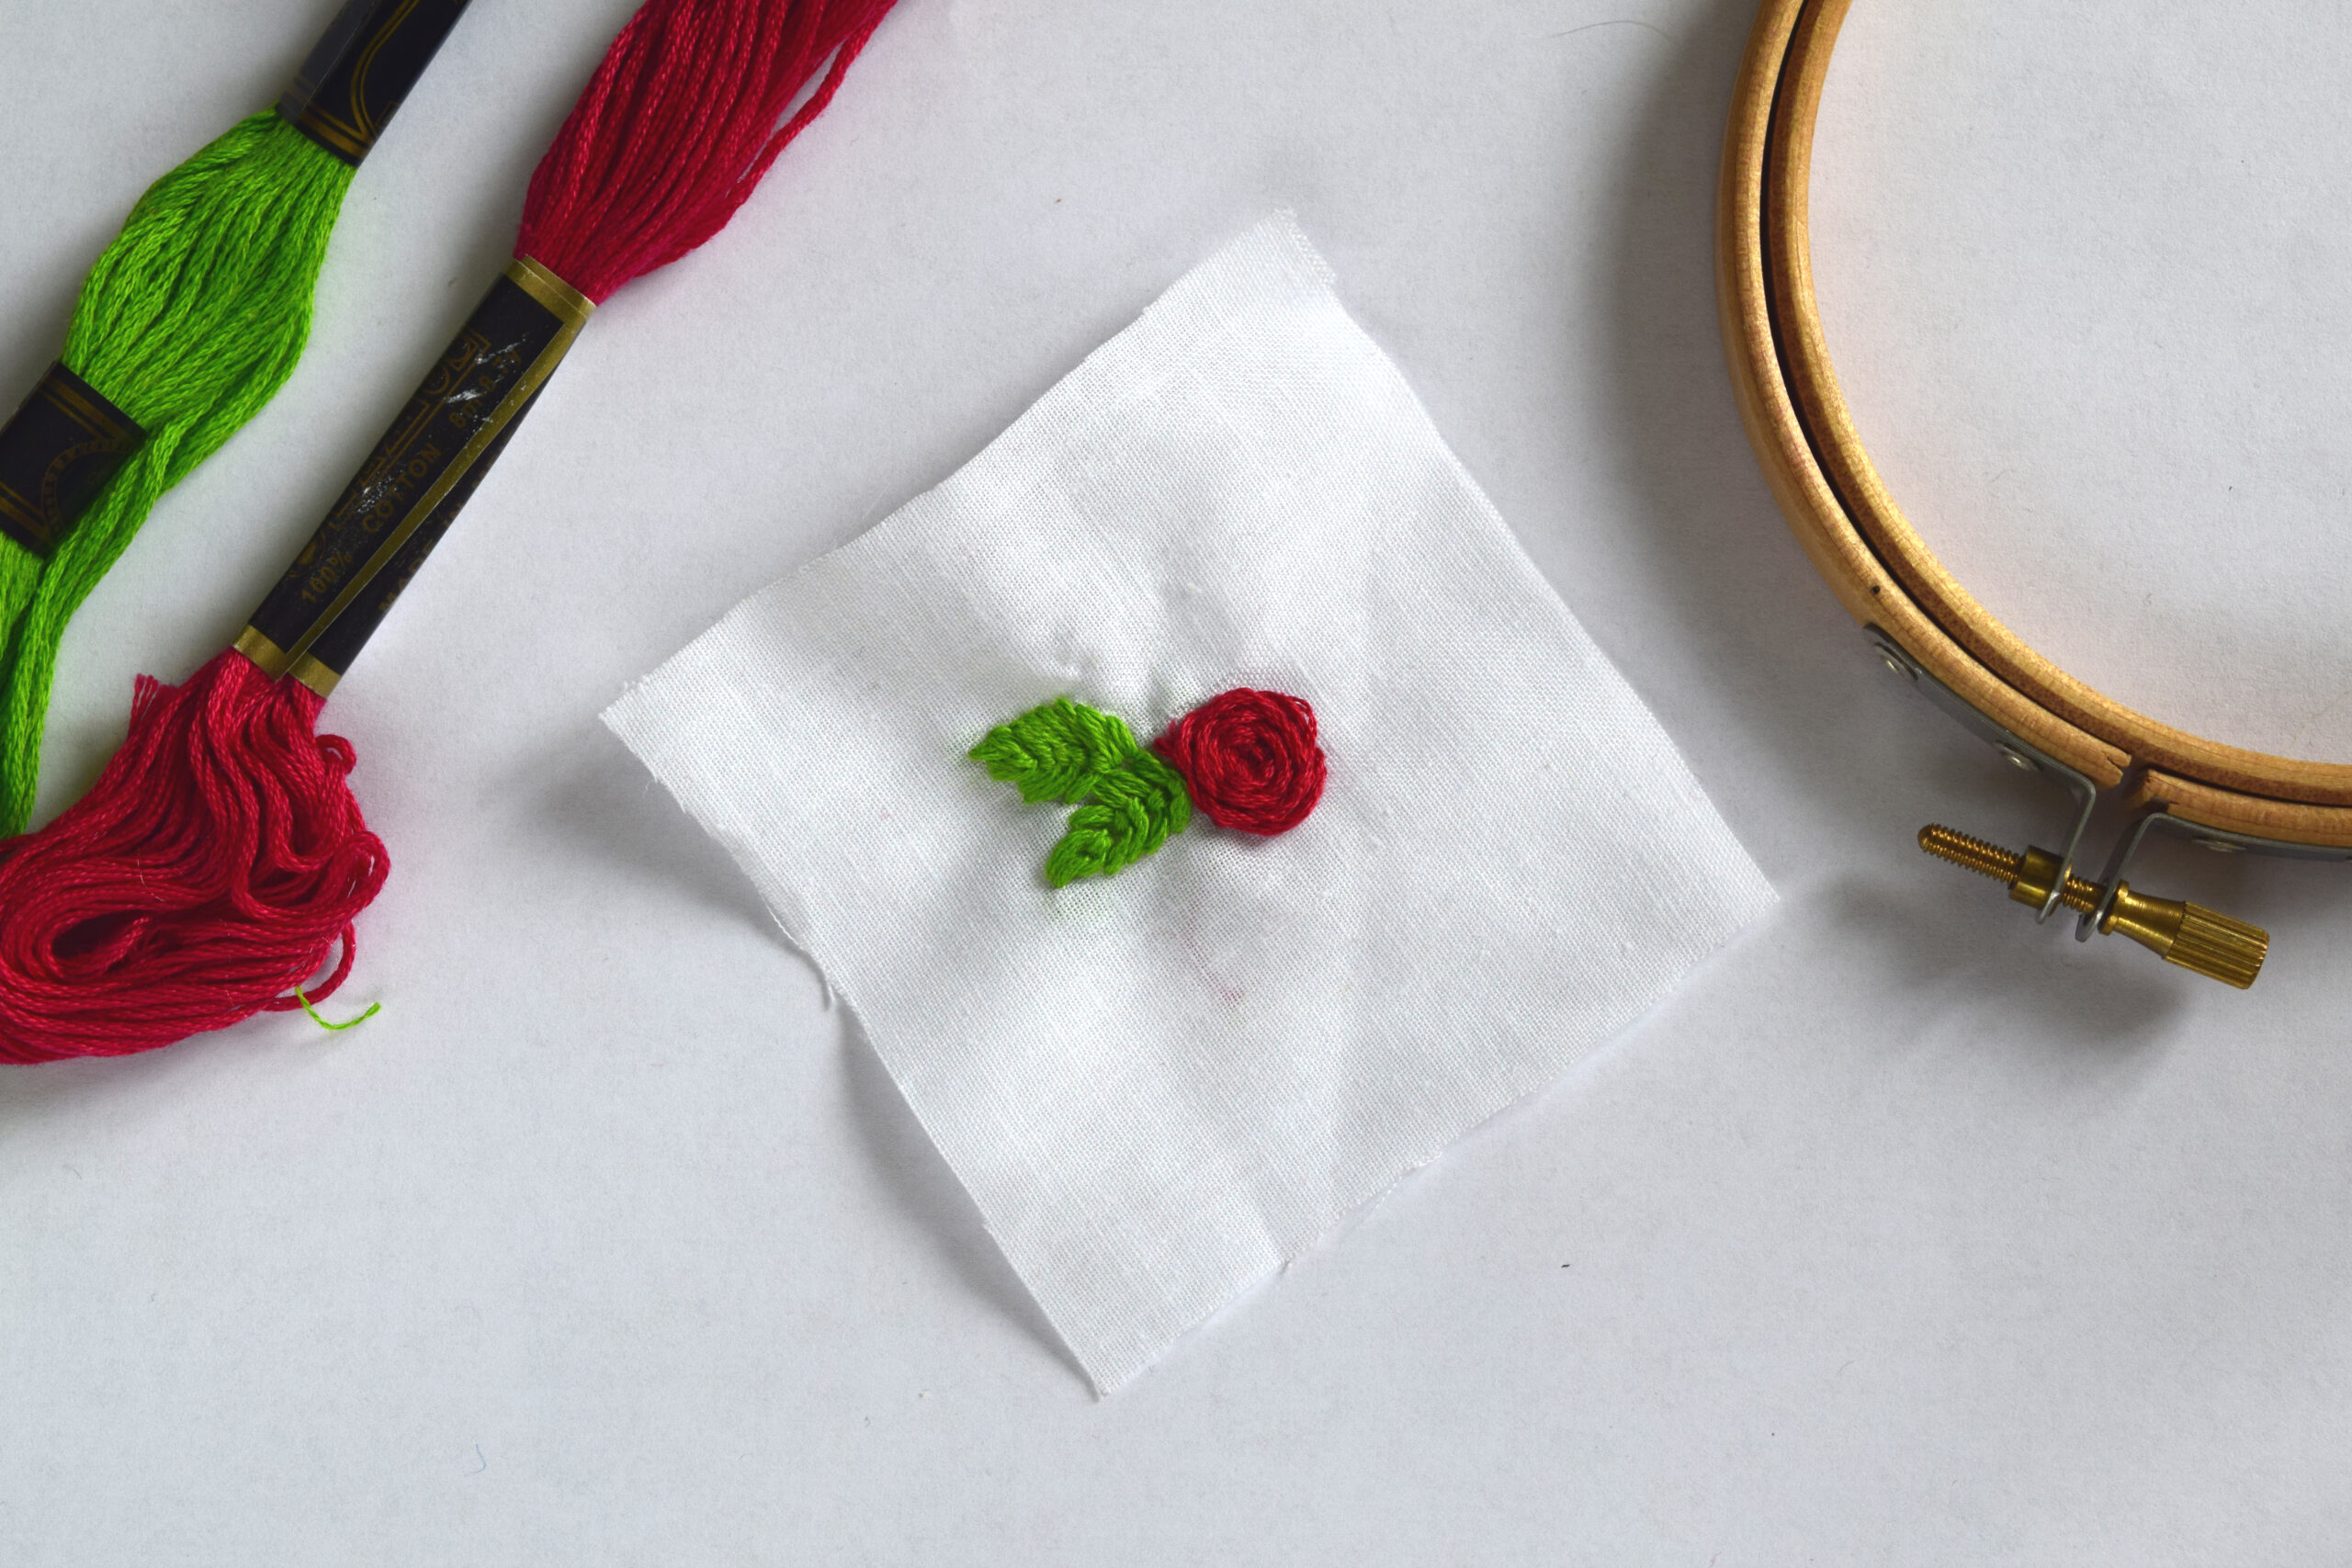
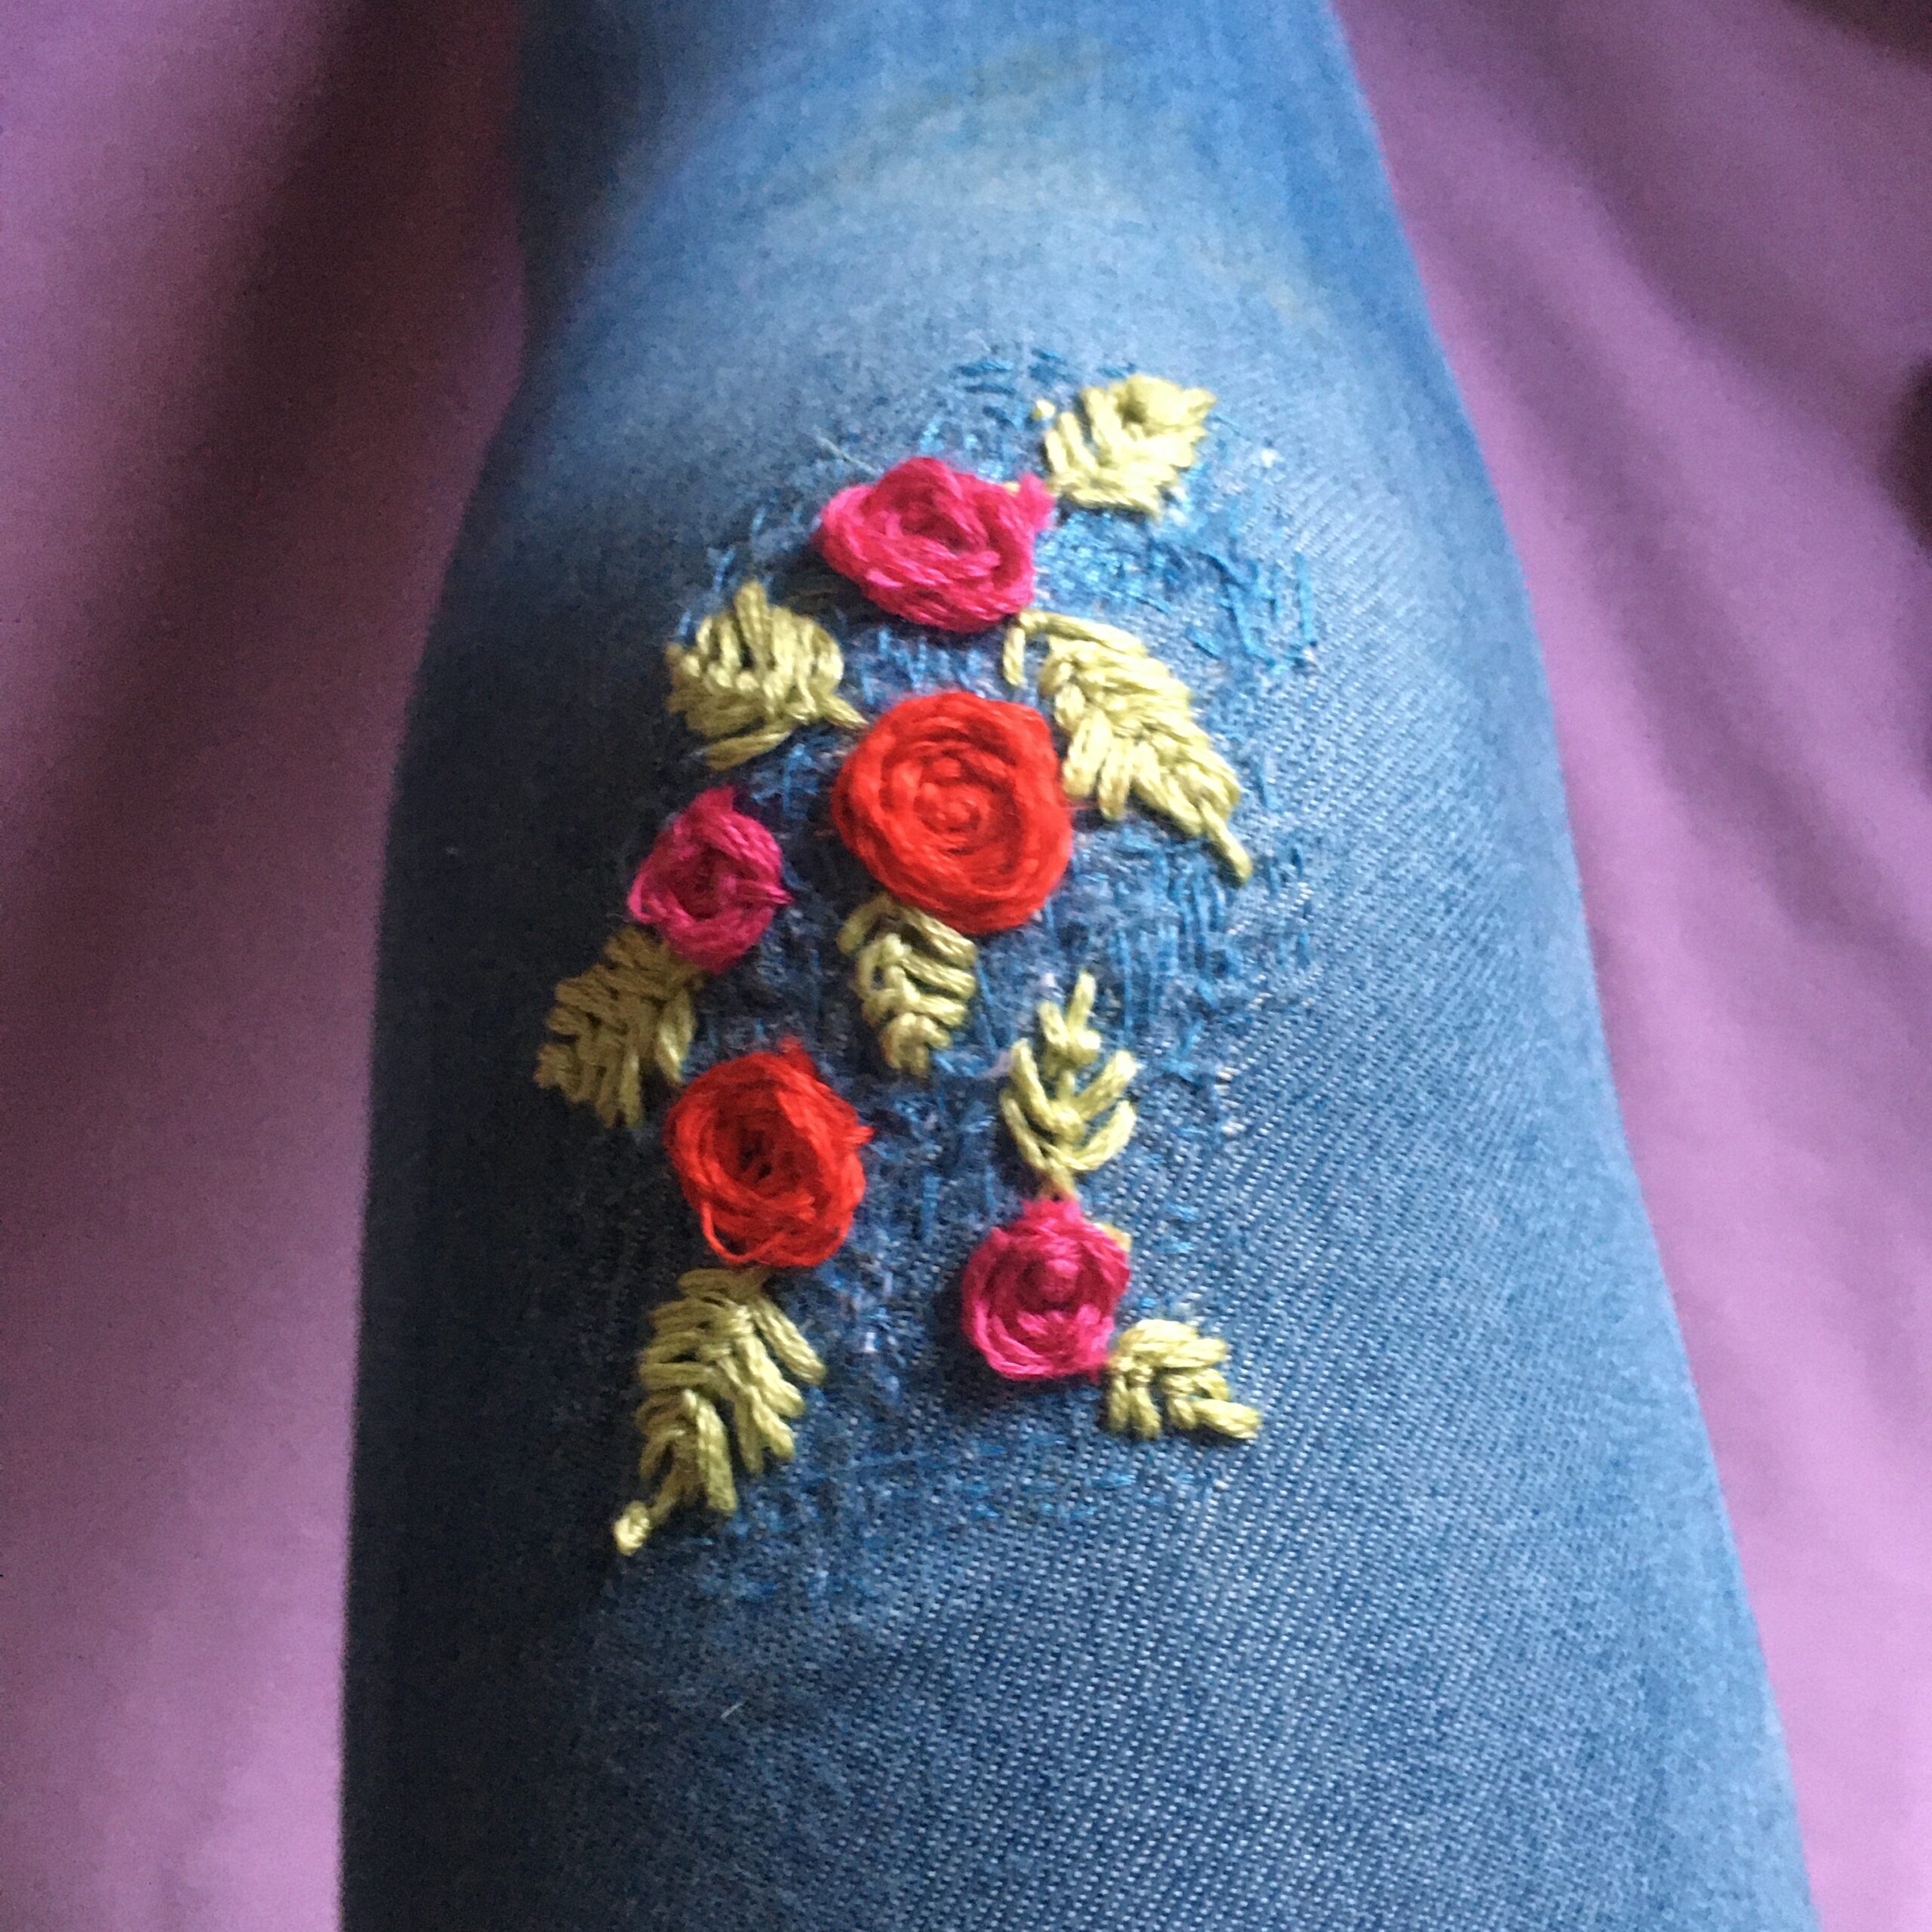
Pro-tip: embroider a simple flower design or your monogram onto a corner of your hanky!