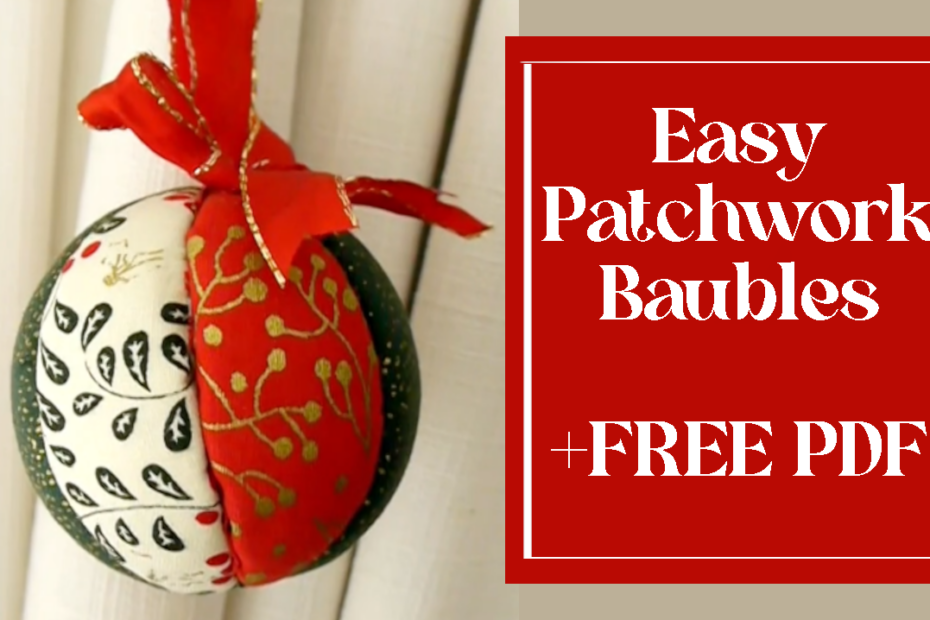
Most people already have all of their ornaments up, but these no-sew “quilted” baubles are too good to miss! I’m originally German, so it’s not too late for me yet, as we put up our decor gradually, starting with Advent wreaths, angels choirs, etc. and only decorate our Christmas trees on December 24th. But even if you’ve had your tree up for ages, it’s not too late to add a few of these gorgeous handmade ornaments!
Below, you’ll find both written instructions and a video tutorial. Let get going!
How to make your Fabric-Covered Baubles:
You’ll need: Takes approx. 10-15 mins.
- a polystyrene ball (I used a 7cm diameter, which is quite small)
- festive fabric
- sharp craft knife
- ribbon
- our FREE pdf pattern
Divide your polystyrene ball into 6 equal sections, and use your craft knife to make cuts along each section. Make sure you cut at least 5mm deep.
Cut out your fabric using our pdf pattern. If you want to make your own, create a leaf-shape as wide as each section and as long as half the circumference of your bauble. Make sure to add a generous seam allowance all around. You’ll need 6 pieces of fabric.
Fix the fabric onto the baubles by pushing the seam allowance into the cuts on the balls using the blunt side of your craft knife. Add a ribbon bow and loop to the top of the bauble using glue or a pin.
Optional: use gold or silver cord to cover the “seams” of your bauble, this is also a good way to hide imperfections! You’ll need to add the cord before the bow though!

